There’s no doubt that vinyl plank flooring looks fantastic. The wood can bring a beautifully organic and natural feeling to any home and is an affordable alternative to hardwood floors. However, homeowners are rightly curious as to whether they can install a radiant heating system under this kind of flooring. Is it possible? Is it safe? Will it void the warranty on my flooring?
The short answer is yes; radiant heat can be installed under vinyl plank flooring. However, there are a few things you need to keep in mind before you install radiant heat under your new or existing vinyl floors to ensure you get the best experience.
Let’s get into it.
What is Vinyl Plank Flooring?
Vinyl plank flooring is a type of flooring that’s made to look like hardwood floors. It’s made of multiple layers of PVC fused together. The top layer is a wear layer that protects the floor from scratches, stains, and fading from sunlight.
Vinyl plank flooring is a popular choice for many homeowners because it is durable, easy to install, and clean. It’s also more affordable than hardwood floors and looks great if you want to add a gorgeous, natural, and organic-looking touch.

What is Radiant Heat?
Radiant heat is a type of heating that uses radiant energy to warm up an area. Radiant energy is electromagnetic waves that travel through the air, transferring their energy to objects it comes into contact with.
So, electromagnetic waves travel up into the room, but once they come into contact with an object, this energy is turned into heat. This radiant heat contact warms the objects, thus warming the entire room. In this case, the waves come into contact with your vinyl plank flooring and produce an even coverage of heat around the room. This is different from other types of heating, like forced air heating which pushes heated air aimlessly into space.
Radiant heat is more efficient because less energy is needed to heat the objects and then the room, rather than trying to force heat the entirety of the room. Radiant heat is also more comfortable because there are no drafts or hot spots.
Can Radiant Heat be Used Under Vinyl Plank Flooring?
Yes, radiant heat can be used under vinyl plank flooring. It’s one of the most recommended heating solutions for when you’re using vinyl plank floors. This is because the radiant heat electromagnetic waves travel up and come into contact with the vinyl floor to produce heat, heating the floor rather than blasting hot air aimlessly into the entire room, much like a traditional radiator does.
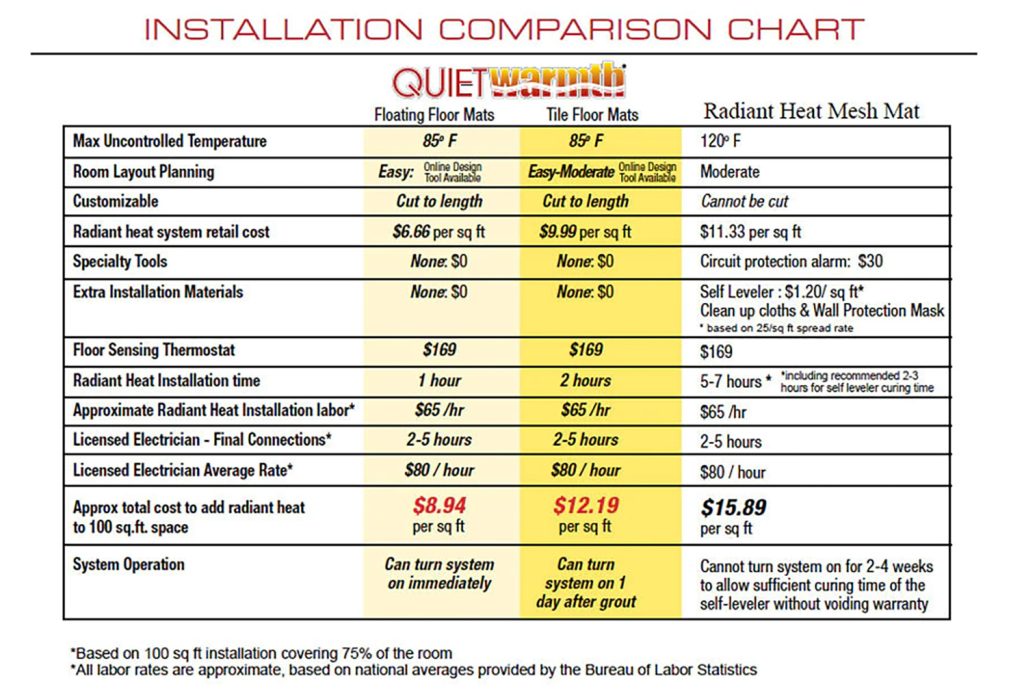
In short, vinyl plank floors and radiant heating systems work exceptionally well together. There’s no risk of damage, nor will you risk voiding your warranty. All you need to do is ensure that your heating system on average, won’t exceed 80-85°F, as this is usually the safe temperature limit for vinyl plank flooring. Be sure to check your vinyl plank flooring manufacturer’s instructions for the exact temperature as they may vary. There are a few things to remember when installing radiant heat under vinyl plank flooring.
Make sure that the radiant heating system is compatible with the vinyl flooring. This is in terms of size, quality, and insulation, but we’ll cover this in more detail shortly. Second, install a radiant heat barrier between the radiant heat and the vinyl flooring. This will protect the vinyl from heat and prevent discoloration, improving the life span of the vinyl planks. If you want the best experience, lay the heating system and then the vinyl floor around two weeks later. Then work on calibrating the temperature.
Slowly adjust your temperature from low to high, roughly increasing by five degrees a day until you reach your desired temperature. This is the best way to avoid damaging either your heating system or flooring.
How to Choose and Install a Radiant Heating System Under Vinyl Plank Flooring
When choosing a radiant heating system to work with your vinyl plank flooring, ensure the system is compatible with your vinyl. This is because radiant heat systems are available in various sizes and watts and, depending on your vinyl floor, will need to match accordingly. What’s more, the size and wattage of the system you need will depend on the square footage of the area you want to heat, the climate, and the R-value of the radiant heat barrier.
The R-value refers to the temperature difference per unit of heat and how much energy (on a unit basis) is needed to provide steady and sustainable warmth to an area. You don’t need to know the science behind this (although you can read about it here if interested), but you do need a system that is strong enough to pass through however thick your vinyl flooring is. QuietWarmth Radiant Heating Systems are compatible with most vinyl floors and provide enough heat to pass through the floors easily.
Some points to note ;
- Most Radiant heating systems tend to raise your floor by around 1/2-inch. While it’s not a lot, you’ll need to bear it in mind. (QuietWarmth Heating Systems are thin enough to not raise floor height)
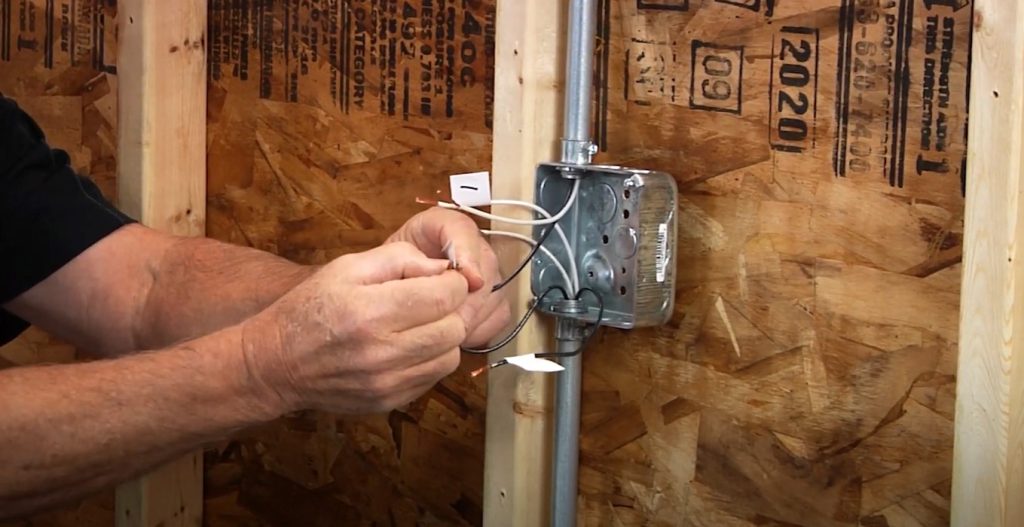
- You’ll want to install an intelligent thermostat. You can have one universal system or a thermostat in every room, so you can adjust the heat throughout your home however you like.
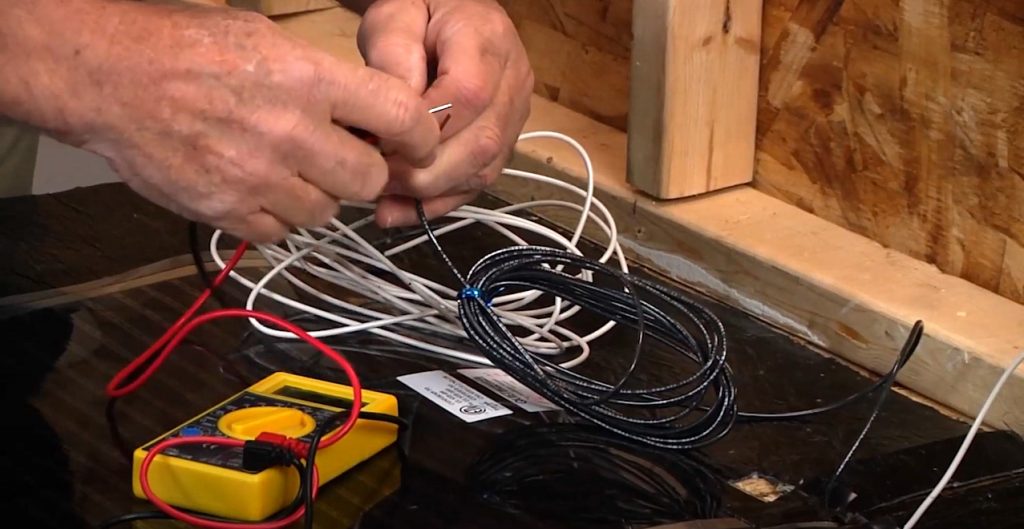
- Installing a radiant system is easy since it just connects to your existing electrical system.
While all this can sound like a lot, the reality is that it isn’t. Installing a radiant heating system under vinyl plank flooring is not difficult as long as you follow the manufacturer’s instructions. Many homeowners and fans of DIY can easily complete this project themselves with guided instructions, or you can get a professional handyperson to fit it for you.
The Benefits of Radiant Heating
With all this in mind, it’s easy to see why you’d consider installing a radiant heating system. The truth is that radiant heat provides far more benefits than your traditional heating system. Most importantly, radiant heating is a far more efficient way to heat your home because it uses less energy than other types of heating. As before, this is because radiant heat heats objects instead of just the air using radiant energy. Modern studies show that you can cut your energy bills by as much as 18% to 21%, with highs of 25%. In some homes, this could be as high as 50%. These are huge savings for such a simple installation. This is backed up by the fact that there is practically no heat loss with radiant systems and even distribution throughout your home.
Additionally, radiant heat is a safer way to heat your home because there are no open flames or hot surfaces. This makes radiant heat ideal for homes with young children or pets. We can all admit that having a wood burner or open fireplace is a beautiful idea; it’s just not ideal in some family homes. Radiant heating systems are, therefore, a much safer and more initiative option.
Radiant heat is also a healthier way to heat your home because it does not circulate dust or bacteria like forced air heating. This is because radiant heat does not rely on air movement to distribute the heat, and you’ll instead get even coverage across every room in your home. This also ties into the fact that radiant heating is a far more comfortable form of heating because there are no drafts or hot spots.
Finally, radiant heating is a more environmentally friendly way to heat your home because it uses less energy than other types of heating and doesn’t produce emissions or pollutants. All in all, radiant heating is the better choice for both your family and the environment.
Get Started with QuietWarmth Radiant Heating Systems
There’s no denying radiant heating has a lot of benefits, and since it’s so easy to install a radiant heating system under your vinyl plank flooring, there’s no reason to choose otherwise. On that note, when you’re ready to enjoy the world of radiant heating yourself, check out our catalog of radiant floor heating systems.
We stock everything from floating floor systems, tile systems, and even systems for under your existing floor. Everything you need to enjoy radiant heating your way. Check out our online store today, or get in touch and see exactly what we can do for you!
Join Our Newsletter
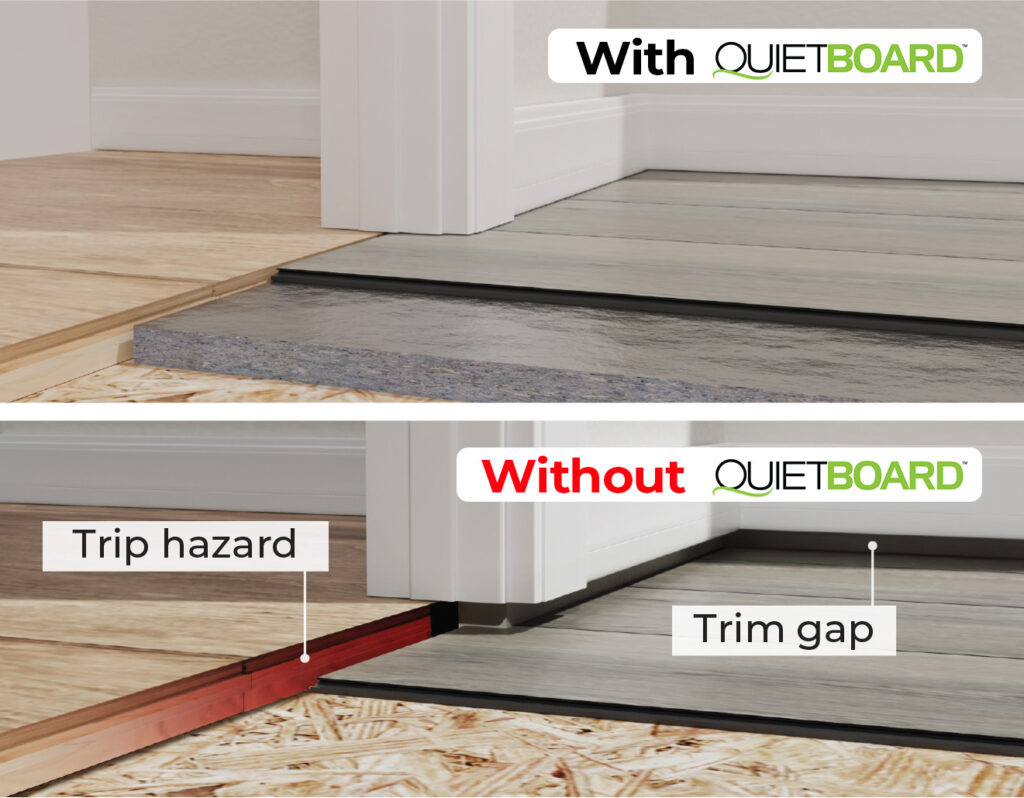
You are about to install your new flooring. As you lay the first plank you realize that